As an Amazon Associate we earn from qualifying purchases.
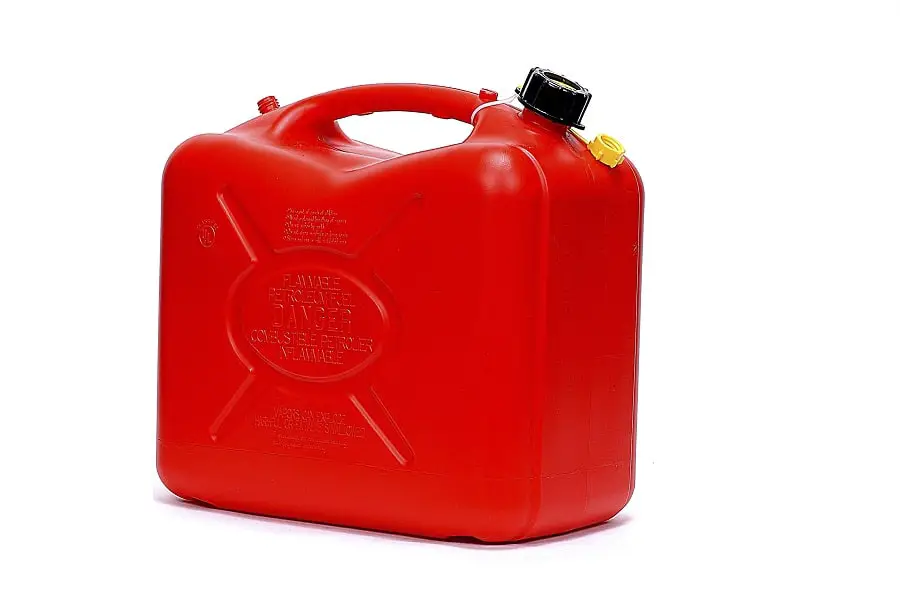
Plastic gas tanks are used in boats, dirt bikes, touring bikes, semi-trucks, and many other vehicles. A dirty gas tank can damage the fuel pump and filter. So, regardless of what vehicle you own, learning how to clean a plastic gas tank can pay off.
Contents
How To Clean A Plastic Gas Tank
Over time these tanks become lined with grease. This is not good as the material harms your fresh fuel. Therefore, let’s take a look at some cleaning methods to maintain the tank in good condition for a long time.
Method #1: Cleaning With Isopropyl Alcohol
Make sure you use all the fuel within the plastic gas tank. If you want to clean it but still have some fuel in it, transfer it to other containers for the time being. The cleaning process cannot be executed if fuel is present within the tank.
For shifting the gas to a different container, you will need a large bucket and a clear hose. Make sure you don’t use a water hose.
Step #1: Fill Isopropyl Alcohol Into The Tank
You can get isopropyl alcohol from online or offline stores for this purpose. Get an adequate amount of it as per the size of your plastic gas tank.
Fill the plastic tank with it, and shut the lid. Leave the tank alone for a while. It will dissolve all the gummy & sticky residues within the tank.
Step #2: Pump Out The Alcohol
After allowing the alcohol to sit in the tank for around 30 minutes, you can extract it:
- Use a siphon pump to pump out the alcohol.
- Connect it to the plastic tank and draw out the alcohol.
- Observe the gunk and residues flushing out of your tank.

Method #2: Cleaning with Baking Soda and Vinegar
Sludge in plastic gas tanks is a very common problem. Here’s how you clean it out with white vinegar and baking soda:
- You need to add one cup of baking soda to 2 cups of white vinegar inside the plastic gas tank.
- After that, fill the tank with water three-quarters of the way.
- The cleaning solution will then break the bond of sticky residues and will dissolve the buildups.
- Let the solution settle down inside the plastic gas tank for around one hour.
- Use a siphon pump or directly flush out the solution from the plastic gas tank.
- Now, pour clean water into the plastic tank and lock the lid.
- Swirl it to remove any residual baking soda and white vinegar.
- Rinse out the tank at least three times or until the water stops changing color while you flush it out.
- Now, leave it under the sun to dry completely before reuse.
Tip
If you wish to give an in-depth cleaning to the plastic gas tank, leave the cleaning solution overnight in it. It will completely dissolve all rigid chunks and residues within the tank by the following day.
Method #3: Cleaning with Muriatic Acid
It is nothing very strong Hydrochloric Acid available commercially and also found in all our stomachs. We recommend wearing gloves in this method as the acid is highly corrosive. Here’s how you can clean varnish out of plastic gas tanks using Muriatic Acid:
Step #1: Clear As Much Dirt As You Can
Before you can go ahead and clean the varnish buildup within the plastic gas tanks, you must use either the first or second method to clean the tank out.
A basic clean-up with those methods will get rid of loose varnish. If there’s a lot of it in the tank after cleaning, executing the next steps.
Step #2: Clean Varnish With Muriatic Acid
- Fill the plastic gas tank with water. Leave some space for the acid.
- Add 1/2 gallon muriatic acid to the tank.
- Now move or shake the tank around for a few minutes.
- Let the solution settle down within the plastic gas tank overnight.
Step #3: Flush The Gas Tank
The third step is to flush the gas tank thoroughly to extract the varnish. Here’s how you do it:
- Use a siphon pump to flush out the tank.
- You will see the varnish come out with the solution.
- Fill the tank with water again.
- Close the lid and stir the gas tank to clean the residues of muriatic acid.
- Flush out the water. If the water isn’t clear, there are still residues of the cleaning solution.
- Repeat the process until you observe no change in the color of the water while you flush it out.
- Leave the tank to dry under the sun before using it again.
Step #4: Remove Varnish Using Sea Foam (Optional)
In case you want to try out an alternative method to clean the tank, use seafoam:
- Add 2 cups of vinegar and 1 cup of baking soda to the plastic tank.
- Add water to prepare a solution for diluting the varnish within the tank.
- Use Seafoam formulation to liquefy the varnish or sludge within the tank.
- Flush it out of the system with the use of a siphon pump.
- Clear out the residues of the baking soda and vinegar solutions with clean water.
- Let the tank dry before reusing it.
Here’s a video guide to using seafoam to clean a fuel tank.
Frequently Asked Questions
Are The Cleaning Methods Mentioned Above Safe To Use?
Yes, with proper precautions, the cleaning methods mentioned are completely safe., High-Density polyethylene is used for making plastic gas tanks. It is highly durable, making all forms of cleaning suitable.
How Can I Seal The Plastic Gas Tanks?
Using epoxy glue is a great option for sealing the plastic gas tank. You can either use plastic welding or epoxy glue for the same. If you prefer to weld it, then do it before sealing it with epoxy glue.
Conclusion
Cleaning the gas tank from time to time is critical to ensure your vehicle keeps running in top condition. Leverage these methods to clean the plastic gas tanks, all on your own. There’s no need to pay someone to do it for you.