As an Amazon Associate we earn from qualifying purchases.
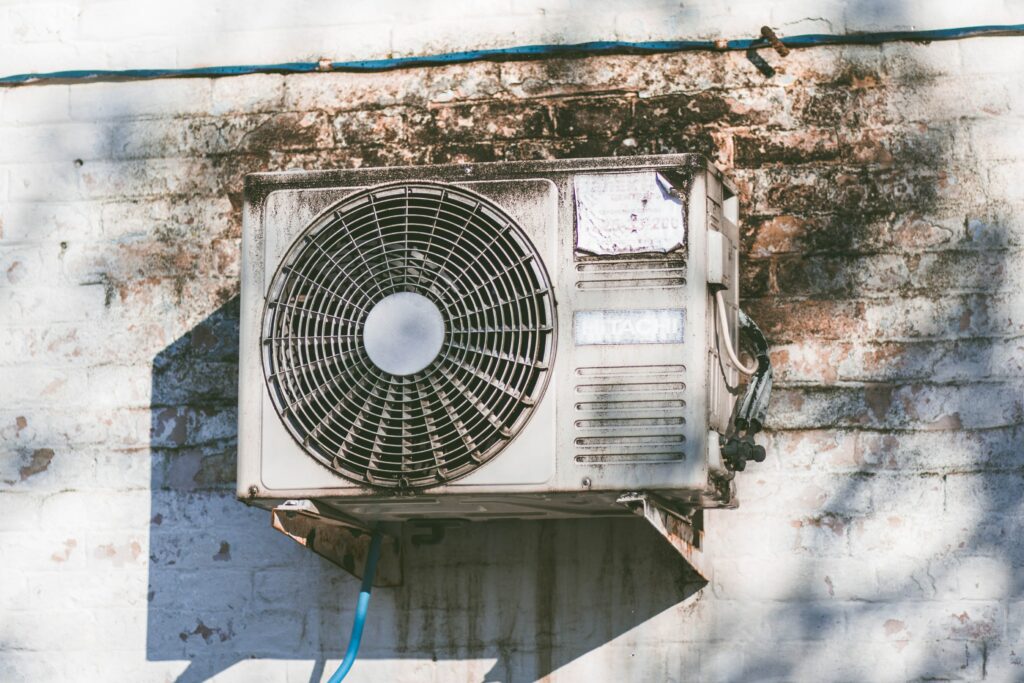
Your air conditioner is one of the most important parts of your home. But when it’s time for preventive maintenance, don’t forget about those hard-to-see components inside!
The evaporator coils are among them and can cause problems if they’re dirty or have buildup on them. It will reduce the efficiency with increased wear rates as well lead to breakdowns over long periods. All this is due to carelessness and not paying close enough attention here at all times.
Even if you clean it after every six months, it will do wonders.
Why Evaporator Coils Are Important?
The importance of evaporator coils is to capture heat from inside your home. While condenser releases that same captured energy outside. These metal fins improve the transfer rate by allowing it to be more easily removed and sent elsewhere for use as needed with an AC unit or ventilation system.
Either way, you will need them both working together properly so check up on these often!
The evaporator coils in your air conditioning system are like the brains of a very efficient machine. They control how much water flows through them. Also, this determines whether or not it will be warm enough for you throughout the summertime.
So, it is necessary to know how to clean the evaporator coil and your air conditioner filter for the best performance.
Steps On How To Clean Evaporator Coil
Step 1: Turn Off the System and Gain Access
To start, you will need to turn off your air conditioning system and any unit that filters the room. Next access panels with screws or fasteners on them depending upon the model. So, read through their handbooks for more details about what needs to be removed first!
You can save yourself some time by marking all the parts that you’ve removed with an identifying tag or Band-Aid. This will make sure they don’t get lost during cleanup, and it may even help law enforcement if there is ever a case involving environmental contamination at your home!
Step 02: Locate The Coil That Is Needed To Be Cleaned
You can identify the evaporator coils that need cleaning thanks to their upside-down V shape. They’re typically lined with aluminum fins and made out of copper, steel, or even ceramic material like clay bricks!
So now you know what they look like inside your home? That’s because these U-shaped tubes make up most furnace outlets where warm air comes into contact before being pushed back outside through a vent system located on top.
Step 03: Scratch Off Any Build-Ups Inside the Coil
In this step, you will begin working out the nasty build-ups inside of your coils using a can or compressed air. Use it from straight 90 degrees and apply in light brushing motions to blow out all dirt & dust particles that have been stuck on top for some time!
Next consider applying some force directly on top or close by; this may be more stubborn stains than what has already come off during cleaning procedures but it’s better safe than sorry so don’t stop there unless something tells you to.
To clean your ducts, spray the cleaner on and let it work its way through. Make sure you are blasting any contaminants with an air compressor or powered estimates while doing this so they get sucked up into their system!
You should also wear eye protection as well because some of those cleaners can really sting if inhaled accidentally (that’s why we recommend masks). Afterward, vacuum away everything that has been removed by blotting gently using fiber cloths pH-balanced soap-free wipes.
Step 04: Get Rid of Stubborn Dirt, Dust, Or Grease
After you’ve brushed away all of that dirt and grime, enter your brush into the cleaning cycle. Use it to get into hard-to-reach areas like between pool coping or around tiles for a cleaner look! Be careful when working with fins though because they can become tangled easily. It is similar to cleaning a bike chain as it has the most stubborn dust and grease too.
Be mindful of the pressure you are putting, as it may cause damage. Furthermore, do not brush across them; if they fold or bend inwards then this will make cleaning much more difficult for yourself later down the line! For now though just let it dry naturally before moving on to the next step.
Step 05: Give It a Deep Clean It Deserves.
For a simple yet effective way to clean it, mix together equal parts water and mild soap in an old spray bottle. Then use the bristles on one side of your tool (a squared-off toothbrush works best) by dabbing it onto any residue left behind after washing; rinse thoroughly under running tap water before storing away!
However, when purchasing a commercial cleaner, it is important to do research and read the ingredients on your product. Make sure that they are safe for use with air conditioners as many cleaners contain substances too harsh which can ruin their components causing costly repairs or even replacement!
When you’re done brushing, run the brush under clean water and reapply your favorite cleaning solution. Continue to brush until all of those stubborn tangles are out! Let everything air dry before giving it one last check with a fresh wet rag-this will ensure that there isn’t any dirt left on the ends where they meet in middle (the connector).
Final Steps
- Follow these steps to clean your unit and prevent various problems!
- Remove any HVAC tape or metal foil from the inside of an access panel before closing it, then put this material back overtop where they belong.
- Put on some gloves if you have them
- Flip off both AC units 4), Inspect all vents for obstructions
- Switch one Off but leave others Operating until just very weakly 6
Key Takeaways
Here you go! The end of our article on how to clean the evaporator coil. I hope this was easy and helpful for your next cleaning job because it should be done every other year or so at least according to the manufacturer’s instructions- don’t forget that we want feedback from readers too; send us pictures if they happen along while working in here (we’re interested!). So, that was it for how to clean evaporator coil.