As an Amazon Associate we earn from qualifying purchases.
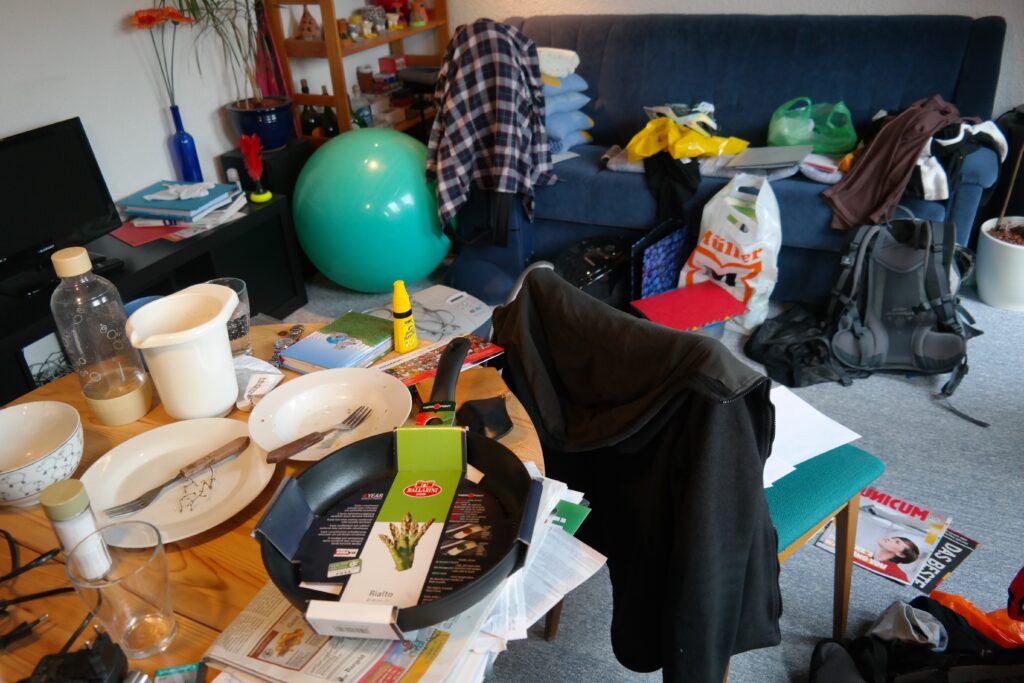
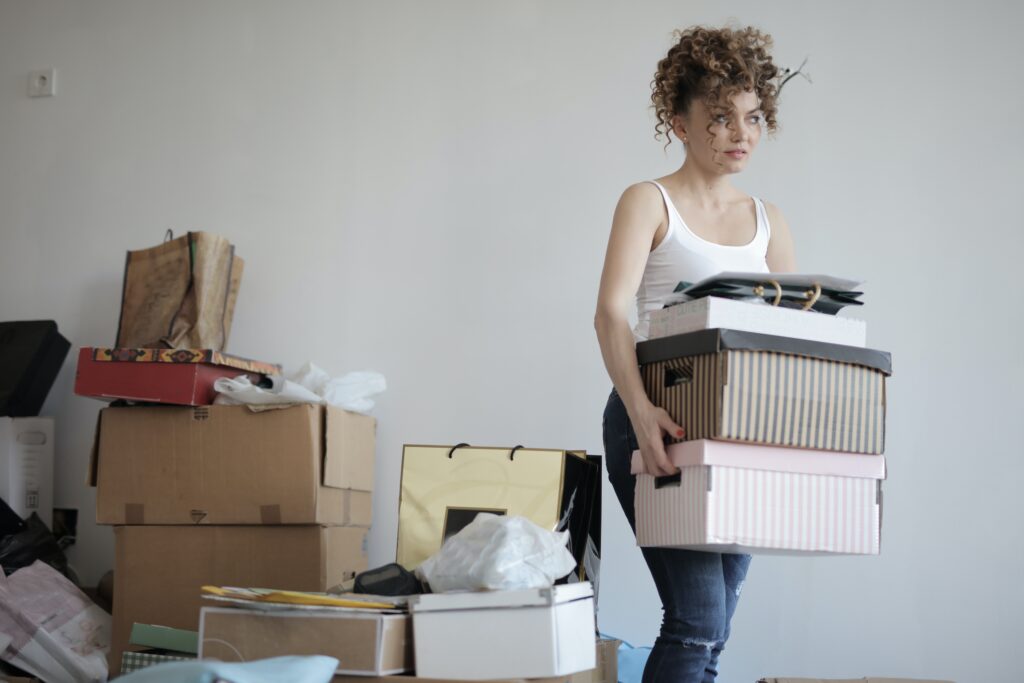
Cleaning a room from scratch can be a nightmare for most people. But don’t worry! By following this step-by-step guide on how to clean out a room full of junk, you can declutter your space within a snap of a finger without getting drained or tired.
Contents
How to Clean Out a Room Full Of Junk
Materials Required
- Mop
- Bucket
- Pen
- Notepad
- Sticky notes
- Three large size cartons
- Trash bags
- Anti-mite insecticide spray
- Boric acid
- Microfibre cloth for dusting/ duster
- Tapes
- Floor cleaner
- Timer (optional)
Step #1: Make a Plan
Thinking of cleaning your clumsy room but don’t know where to start? Once you picture your room, start making notes of the items present there.

Make notes for new items. Group the items according to their use and purpose. For example, books and pens in stationary, while club clothes and accessories together.
It is the most crucial step that no one talks about; plan how you want your rearranged room to look.
Is there some specific setting you want to incorporate? Are there any new items to be placed in your room, but you don’t have space for them? Take these questions into consideration.
After making a detailed To-Do plan, mark a date on your calendar. Choose a good weekend for cleaning as it would be challenging to manage a deep cleaning drive with work.
Step #2: Clean Your Room
Decluttering a mess and deep cleaning go hand in hand. Thus, once you are done decluttering your belongings, good dusting is a must, especially when you want to clean your bedroom.
Whether it is your bedsheets, pillow covers, mats or rugs, curtains, unorganized clothes, or furniture that isn’t dusted for long, clean them to use them once again.
Sanitizing your sheets and covers will help you get rid of bugs and insects. Wood mites and termites are small bugs that live on your furniture. Unlike wood mites who are harmless, termites can damage your furniture.
Moreover, there is a high chance that tiny spiders live in the corners of your room, which is evident from their webs that are visible from the naked eyes.
- Start with dusting. Remove the spider web from the corner of the ceiling.
- Remove everything from the room that is placed in an unorganized manner.
- Next, grab Boric acid from your nearest chemist store and spray it on the infected area to kill termites. While for wood mites, you can use anti-mite insecticide spray.
- Once you get rid of bugs, grab your mop and bucket, take few milliliters of floor cleaner and clean the floor thoroughly.
- Take dirty sheets and pillow covers and sanitize them via machine or manual wash.
Step #3: Divide and Categorize Your Junk
After getting rid of bugs and dirt, it’s time to sort your items. For sorting your belongings:
- Take three full –large size cartons.
- Label them as- to be used, not for use and trash.
- Start picking up random items and put them in cartons accordingly.

Tip: If you are unsure about a specific item, whether you should keep it or not, think of the time when you bought it. Did you buy it for a special occasion? Or did you bought it because it was on sale? If you got it on sale, will you be using it fast forward two years from now? If no, then you have your answer.
- After sorting what you want to keep and what items won’t serve you, it’s time to look into the trash. Most of the things aren’t purely damaged. A few fixes can make them work. But again, there is a limit to fix something.
- Items with damaged wiring, faded color (clothes), multiple cracks, etc., should be placed in the third box.
- Be ruthless while sorting the items. You won’t be doing this over and over again.
Step #4: Take a Break
Since you are halfway through your work, it’s time for a short break. Working continuously can be tedious.
Step #5: Separate the Trash
As you know, papers, broken electronics, rugged clothes, and damaged goods cannot be dumped together. Thus, before you dump your trash, don’t forget to separate the e-waste from the rest of the items.
Separate the garbage wisely. It may take a while but, in the end, it will be worth it.
Step #6: Organize Your Belongings
- Club similar items together. You can group those items that serve a similar purpose.
- Pack the items that are off-season or aren’t in current use.
- Keep a separate space for small items so that they don’t get lost with big ones.
- Now, start organizing your shelves. For instance, while managing your wardrobe, keep that stuff in front that you use daily. It will make clothes and accessories accessible in time of hurry.
- To organize your study table, keep your pens and markers on the side of your active hand, followed by a diary or notepad.
- Make space for your gadgets (laptops, PCs, tablets, etc.). Use the leftover space to keep your important files and papers.
- Change your curtains and put clean sheets and covers over your furniture.
Your room is organized and pleasing to use. Here is a detailed video that can help you organize your room in a better way.
Step #7: Pack-Up
Finally, pack all of the items that are of no use. You can either give them to thrift stores or donate them to needy people. You can also sell them on E-commerce platforms as refurbished goods to new consumers.

Conclusion
A study reveals that a clean room promotes better health not only in physical terms but mentally too. It is seen that people who define their spaces as ‘cluttered’ or ‘unorganized’ are often leading an unhealthy lifestyle.
Thus, it is evident that a clean space directly impacts one’s health. But cleaning itself can be challenging for most of us.
Therefore, following this step-by-step guide, you can efficiently organize your room without getting overwhelmed and emotionally tired.
