As an Amazon Associate we earn from qualifying purchases.
Remember when you first got your safety razor? It was beautiful and shiny, and you couldn’t wait to use it. This may not be the case right now.
Lack of proper cleaning has made it lose its shine, and looking at it does not give you the urge to shave. Thankfully, the situation can be reversed. In this guide, you will discover how to clean a safety razor and regain its shine.
Contents
How to Clean a Safety Razor
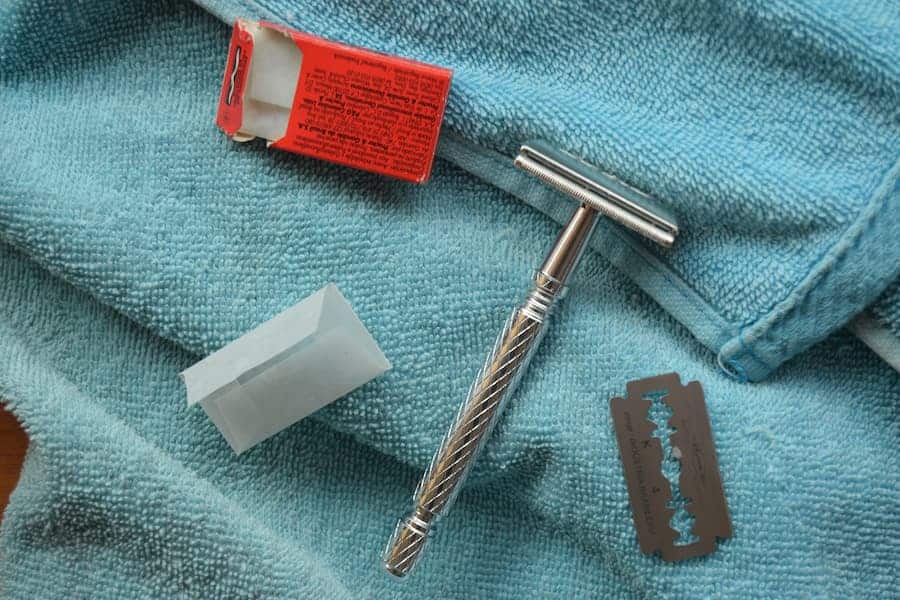
It is essential that you regularly clean your safety razor after every use. All you have to do is take it apart and rinse every part with running water, then dry the pieces by wiping them with a hand towel. There are different types of safety razors, but the process of cleaning them is the same.

If you have had your safety razor for a long time without cleaning it regularly, it is at risk of rusting and having a build-up of bacteria. Rinsing will not suffice. You will have to do more than rinsing for your razor to perform well.
When your safety razor shows signs of build-up or white powdery coating on the surface, it is time to clean it.
Periodic Cleaning
Depending on the type of water pressure you have, cleaning the safety razor can be done weekly for some people or monthly for others. If your water pressure is low, do it monthly, and if it is high weekly cleans will work for you. If you do deep cleaning once in a while, you can get away with just rinsing it after use for some time before you have to clean it properly.
To clean your safety razor, you will need the following essential cleaning tools:
- Warm water
- Dish soap
- A toothbrush with soft bristles
- Rubbing alcohol
- Toothpicks and Q-tips
Fill your sink with warm water and add some dish soap and not dishwasher soap. Disassemble the safety razor and scrub each part with the toothbrush. Scrub in a manner that will not scratch the surface, but at the same time, it dislodges the build-up.
The toothpicks and Q-tips will help you reach crevasses that the toothbrush cannot reach. Fill a bowl with rubbing alcohol and use a toothbrush to scrub the safety razor gently. Apart from disinfecting it, the alcohol will remove any soap scum or remaining build-up.
Once all the alcohol has evaporated, you will notice your safety razor is shinier.
Deep Cleaning
For this procedure, you will need:
- Vinegar
- Water
- Toothbrush
- Baking soda
Vinegar is a powerful cleaning ingredient that can be used to clean different items in your home, including your ceiling fans. Meanwhile, the solution of water and vinegar is very effective to clean your instruments like cymbals.
In a ratio of one part of vinegar to four parts of water, form a solution in a bowl. Disassemble the safety razor and soak all the parts for 10 minutes. Using the toothbrush, scrub all the parts until they are clean.

If your safety razor is too stubborn for the vinegar to handle, add baking soda to form a paste and scrub the parts. A high concentration of vinegar corrodes stainless steel, so be careful not to let that happen. You can test your solution on a small part of the razor to be sure.
After scrubbing, rinse with warm water and let the parts dry before putting them back together. You may want to lubricate the threads with oil, grease, or petroleum jelly.
Removing Rust
Sometimes, you may forget about your safety razor; this happens if you have more than one. So, what happens if one day you check your bathroom cabinet and discover that your safety razor has rusted? You may want to throw it away and count it as a loss, but that does not always have to be the case.
Using Toothpaste
Try removing rust using the deep cleaning method. If deep cleaning proves futile, use hot soapy water to brush off the stubborn bits and once you have most of the rust off, apply toothpaste to the blade. Toothpaste lathers nicely and has proven to be effective in cleaning off stubborn stains.
Using Baking Soda and Vinegar
Vinegar and baking soda are one of the cheapest way to clean your things like a vehicle’s radiator while vinegar it can clean your jewelry, including your anodized rings.
For this procedure, put some warm water in a bowl and add an equal measure of white vinegar. Take two to three tablespoons of baking soda and add to the mixture. Put in your safety razor after you have disassembled it and soak for about two hours.
After the two hours have elapsed, most of the rust will have come off. You can use a toothbrush to get the remainder out.
Boiling the Safety Razor
You probably think you should get water in a pan, toss your safety razor in and turn the heat on, right? Do not do this, as it will damage the metal if you place it directly on the pan. The best method is to put it in a colander first and then in the pan.
Boil it for 10 minutes, and then let it cool. At no point should you add cold water to make it cool faster? You should avoid using cold water because it will cause a sudden change in temperature that may damage the razor.
Clean the razor with a toothbrush and warm soapy water once it is cool enough for you to handle.

Preventing Rust
Most people prefer to use rubbing alcohol to sterilize the safety razor and prevent rust from developing. However, you can also go for specialized oils such as linseed oil. These oils protect against corrosive oxidation by forming a protective liquid barrier.
Most safety razor blades typically last for five shaves. It is vital that you change it earlier than you need to to avoid a bad shave. If you shave less frequently, it may take longer to replace the safety razor.
If you do not change your safety razor, it will collect bacteria, hair, shaving cream, and dead skin cells, which will increase your risk of infection. You are also likely to nick yourself and get an awful shaving experience.
Conclusion
Finding a method of cleaning your safety razor is not tricky. You have to factor in how long you have gone without cleaning it, the type of water you have, and the amount of dirt accumulated. At the same time, you have to know how to store your safety razor properly to prevent it from rusting.
