As an Amazon Associate we earn from qualifying purchases.
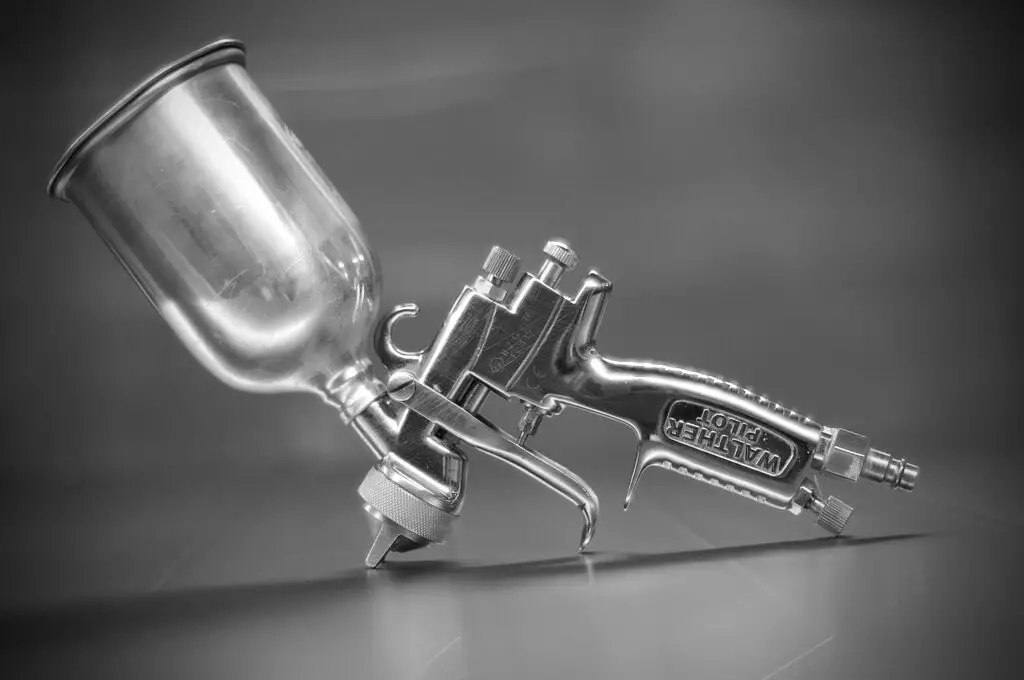
Paint spray guns are generally used to paint cars, walls, or any kind of art. These guns spray varnish using air pressure and can be used on almost any surface, like wood and glass. But they require regular maintenance. Let’s see how to clean a paint spray gun.
How to Clean a Paint Spray Gun
Although it may seem like a tough job, it can be pretty easy to clean a spray gun with the right tips and tricks. But, remember to consider the type.
Tools Required
- A gun wrench, which is provided with the spray gun most often.
- A brush for cleaning the bristles, which is supplied with a spray gun.
- Some toothpicks.
- Soapy water.
- A cleaning solution or a paint thinner.
- A pair of gloves and goggles for your protection.
- Some plastic cups or a bucket.
- A paper towel or a rug.
- A screwdriver.
Precautions to Be Taken
The precautions to be taken involve carefully disassembling the spray gun and keeping track of the parts you have taken out.
- Constantly refer to the manual that comes with the gun. Every gun has some slight differences, which you must be completely aware of.
- Some parts within the gun are incredibly delicate and fragile. Make sure you do not displace or break them while disassembling them.
- Do not dump all the parts you wish to clean together inside the cleaner or soapy water. Some parts like the fluid needle may break or bend.
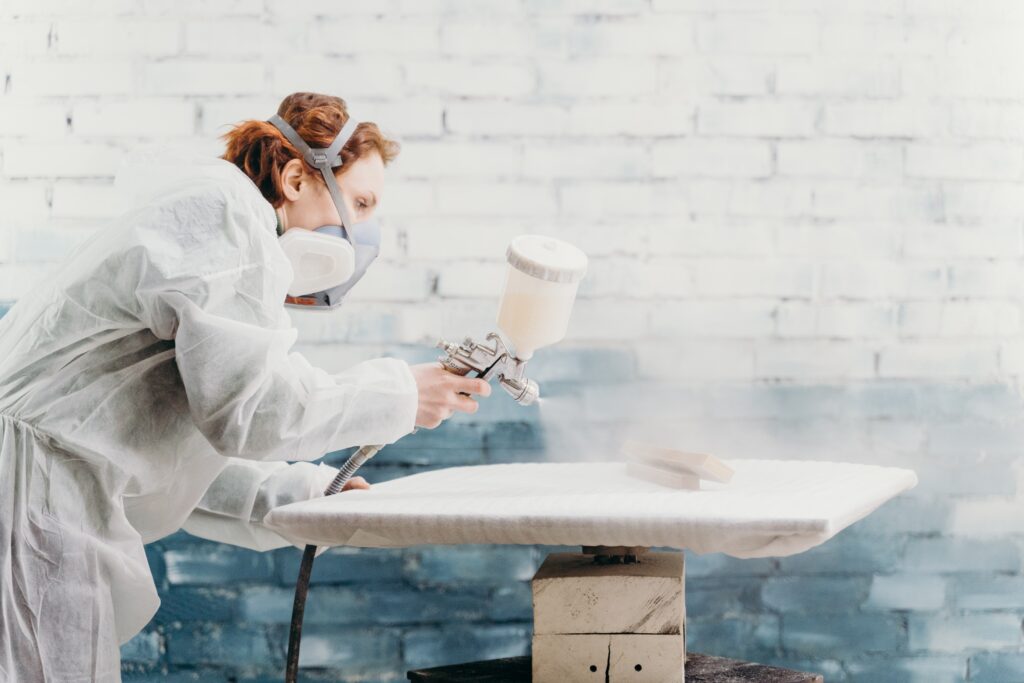
- If you intend to use heavy chemicals for the cleaning process, it is highly advisable to use safety gear like goggles and gloves.
The heavy chemicals can cause damage to your eyes or skin. Therefore, always keep a first aid kit ready before beginning the cleaning process.
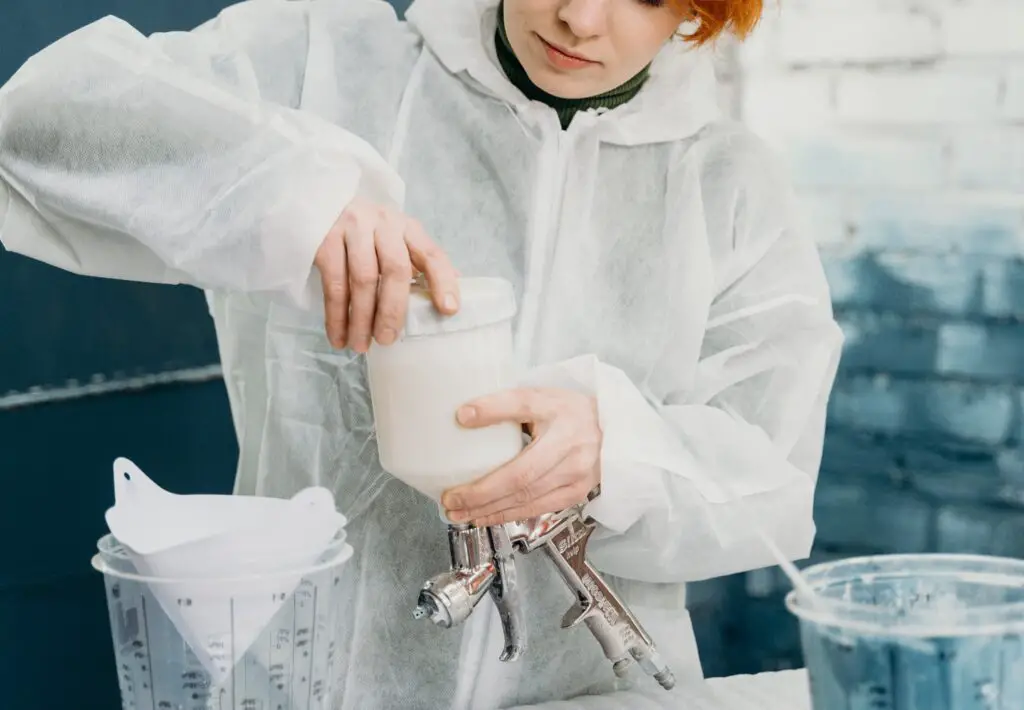
Step #1: Clean the Paint Cup
The bottom of the device contains an air regulator, which needs to be carefully disconnected. This is a critical step to remove the paint cup for cleaning.
The paint cup is the part of the gun that contains fluids and drops of paint. Whether you were painting to touch up part of your car or you were using it to paint a wall, it’s important to clean the paint cup before moving to the next steps. Cleaning it involves the following steps:
- Open the paint cup and fill it with a cleaning solution or paint thinner, whichever is available.
- Close the cap and shake it well. This loosens up the fluid that may be stuck. Spray the fluid into a plastic bucket.
- This will ensure the cleaning liquid also enters the nozzle of the gun and all of its internal working parts. Most of the liquid impurities will come out with this.
- To remove the solid impurities sticking inside the cup, you can use a soft paper towel or a rug.
- Put some cleaning solution on the towel and rub them on the inside of the plastic cup. Make sure you are wearing gloves while doing it.
Step #2: Disassemble the Gun
Once you have cleaned the paint cup, begin to disassemble the gun to clean its inner parts.
- Use your screwdriver to remove the screws holding the paint cup together carefully. Let the paint cup dry on a soft towel for some time.
- Now begin to loosen the screws of the air cup carefully. This will expose the fluid needle of the paint spray.
- The fluid needle is held at its position by a spring. Therefore, while opening it, do it delicately, so you don’t lose the needle.
- Use your gun wrench to carefully dismantle all other parts of the air cap to clean them effectively.
Step #3: Use Paint Thinner
After separating all the parts of the paint spray gun, you have to begin with the cleaning process.
Paint thinner is a preferred chemical, but you can use other soft cleaners or even soapy water if you do not want to use heavy chemicals for the process.
- You must deal with all the delicate internal parts of the paint spray with utmost care.
- To avoid mixing up the different parts, it is highly recommended to use three different cups for parts of the inner and outer air cup and its main body.
- The cups should be large enough to have all the parts soaked in paint thinner inside it. This softens any impurity that is sticking to the surfaces of the body.
- Don’t soak the fluid needle in any of these cups so that it doesn’t get damaged. Clean it later and carefully without damaging it.
- Keep the items soaked inside the paint thinner for some time. Depending on the extent of impurity, you need to soak it for an adequate amount of time. Usually, thirty minutes is enough to loosen the impurities.
Step #4: Wipe the Soaked Materials
After having soaked all the material for some time, you need to take them out of the paint thinner and dry them properly.
- Use the bristle brush supplied with the paint spray and some toothpicks to scrub the impurities off the various parts of the paint spray.
- Firstly, use the bristle brush to scrub the surface of the air cups delicately. This ensures any remaining impurity falls off. It becomes easier because of soaking it.
- There are some small curves inside the gun that a bristle brush cannot reach. Use toothpicks to scrub off impurities from these parts of the paint spray.
- Take a clean piece of cloth. Put some cleaning solution on it and delicately rub it on the fluid needle.
- These steps ensure that all the internal parts of the paint spray gun are thoroughly cleaned. Let them dry again for some time.
It is advisable to keep the disassembled parts under a ceiling fan or direct sunshine to fasten the drying process.
Step #5: Reassemble the Gun
Once all the above steps have been completed, carefully check if all the paint spray gun parts are adequately cleaned. Then begin to reassemble the gun.
- Begin with carefully putting back the fluid needle along with its spring. This is the most delicate part, and you should take full care while putting it back.
- Use your screwdriver to put back the air cup carefully. First, put back the inner cup and then screw the outer cup to complete the process.
- Once the air cup is in place, you have to put it on the paint cup. Screw the paint cup to paint the spray gun.
- Finally, carefully attach the air regulator you had removed previously. This completes the process of reassembly.
You can also refer to this short video about how to clean a paint spray gun.
Frequently Asked Questions
Is Cleaning a Paint Spray Gun Expensive?
Most of the tools required to clean the paint spray come along with it when you buy it. Other materials are usually items of daily use.
You may need only heavy paint thinners for heavy cleaning. The price of this is negligible considering its longevity and the effect it provides.
Is It Safe to Clean a Paint Spray Gun at Home?
The paint thinner used to clean the paint spray gun contains some heavy and toxic chemicals. If you wear your safety gear correctly, you will be safe from any potential health hazards. Perform the cleaning process away from the reach of children.
Conclusion
A paint spray gun is a convenient tool used in most households. To operate it effectively and get the best results, it needs to be clean and well maintained. Speaking of paints, if a paint is incorrectly applied to brick, it is just as easy to clean them.
Cleaning a paint spray is a good thing to do before using it in a project, such as, applying it to wood or even glass. It is easy if done methodically. This could keep your house look clean even when you are busy. Use all safety measures and follow all steps to clean the paint spray properly.