As an Amazon Associate we earn from qualifying purchases.
Cleaning a wind machine fan is not on most people’s minds when they think of cleaning. This, however, does not mean that it does not gather dust and needs to be cleaned. If you do not know how to go about it, this article explores how to clean a wind machine fan.
Contents
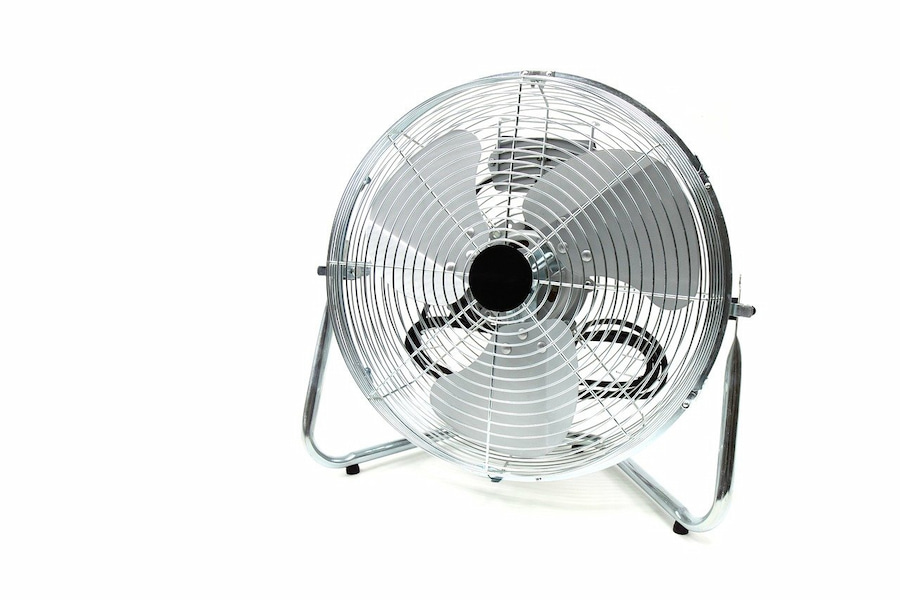
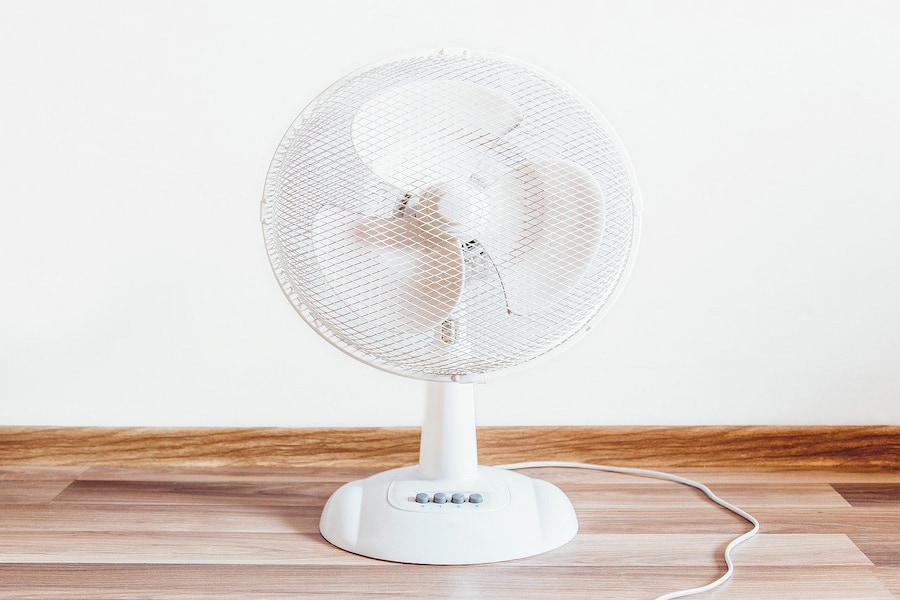
How to Clean a Wind Machine Fan?
Cleaning a wind machine fan depends on how dirty it is. If you have only had it for a short while, it has probably not accumulated a lot of dirt and grime. For fans that are near areas with a lot of dust, the method will be different from that of someone who has used it for a long time.
The following are ways to clean a wind machine fan.
Use a Damp Piece of Cloth
Before you proceed to disassemble the fan, you must check the user manual to see how to do it properly. If you do not have a manual, check the website of the company. Some brands should not be disassembled.
Do not do it if you have one that should not be disassembled. It may end up making your warranty void. This method is excellent for a fan that has not been in use for a long time. To effectively clean using this method, follow the following steps.
- Power off the wind machine fan and unplug it. Do not clean it inside the house as you may end up scattering debris inside the house. The garage would be the best place to use.
- Place your fan face down on a flat surface. Using a screwdriver, remove all the screws, including the knobs. The models vary, so there may be some hidden screws in your wind machine fan.
- Separate the grills to expose the blades.
- Take a damp piece of cloth, and use it to wipe the blades. You can make your cloth damp using soapy water first and then clean water later.
- Wipe the blades until you are satisfied they are clean. Do not touch the motor of the fan.
- Let everything air dry.
- Once the blades are dry, Carefully assemble everything in their proper place. If you are unsure of where something goes, refer to the manual or check on the manufacturer’s website.
If your wind machine is not one to be disassembled, you can use compressed air and spray it into the machine’s blades. It will clear all the dirt and dust.
Use a Vacuum and Cleaning Solution
This method works well for cleaning blower fans and other machines that have a lot of buildups and haven’t been clean in a long time, however this is not applicable for cleaning laptop fans because there are a lot of sensitive parts inside them.
Materials Needed
- Warm soapy water
- Cleaning solution
- Vacuum
- Screwdriver
- A clean piece of cloth
- A toothbrush
- Paper towels
1. Safety First
Remove the machine’s power supply and unplug it from the socket. Check for exposed wires at the same time. You do not want them to be exposed to water or cause future accidents. Remove any batteries that are powering it.
2. Disassemble the Wind Machine Fan
Place the wind machine fan on a stable flat surface and unscrew the screws that hold the housing in place. Some models may also have clips; remove those too. In some cases, a heavy-duty nut holds the rear of the housing into the motor.
First, remove the blade. Unscrew the blade cap in the motor in an anti-clockwise direction and carefully remove each blade. Then place it in warm soapy water.
It will be able to remove the rear part of the fan at this point. Ensure you put all the screws somewhere safe to remember it easily.
3. Use the Vacuum
Now that you have exposed the fan, vacuum all the exposed parts. If you live in a dusty area, you mustn’t skip this step. If it is not dusty, you do not have to perform this step. Instead of using a vacuum, you can opt for compressed air.
4. Use the Cleaning Solution
If you do not have a cleaning solution, add two teaspoons of dishwashing soap into a spray bottle. Top it off with about three cups of water and shake well to form a cleaning solution. For better results, use dishwashing soap that contains grease-cutting properties.
It is not mandatory to use a spray bottle; you can use a bowl and mix everything in it. After you have a solution ready, take a clean cloth and dip it into the bowl containing the mixture. Wring out all the excess water and begin scrubbing the blades.
If you are using a spray bottle, spray a small amount of the cleaning solution on the blades and use a piece of cloth to scrub. Repeat this process until you have covered all the blades. Ensure you do not get any water on the fan’s motor.
5. Clean the Cap
Remember the cap you put into warm soapy water; it’s time to clean it. You can also use this method in cleaning whetstones and softball bats.
Make sure to buy the right brush, avoid abrasive brushes that are meant for cleaning thermocouple water heater, an old toothbrush is your best option. Take an old toothbrush and use it to clean the cap. Be sure to get into the crevices to remove all the dirt and grime accumulating there.
6. Dry Everything
Using paper towels, dry all the parts of the fan. Be very thorough and ensure that you do not miss a single piece. On top of that, put everything in a dry area with sunlight and a breeze for approximately half an hour so they can dry completely.
7. Reassemble the Fan
When disassembling the fan, the last part you removed should be the first part that you put back in. Although the models may be different, the most likely order will be:
- Rear grill
- Rear grill nut that you should tighten clockwise
- Fan blade
- Fan blade nut that tightens counter-clockwise
- Front grill
- Latch the grill clips together
Why You Should Clean Your Wind Machine Fan?
Cleaning your wind machine fan may sound like something you should do. However, there are reasons why you should do it.
Increase Air Quality in the House
A dusty and dirty fan affects the quality of air inside your house. Pathogens such as debris, bacteria, dust, dirt, and allergens may stick to the surface of the blades. When you turn on the fan, it ends up spreading them all over your house or room.
If you have pets or someone who is allergic to such things, they may end up getting sick, and you will not understand what is causing it. This is why some people go through the trouble of finding a professional cleaner to clean their fans.
Dirty Fans, Dirty Homes
It does not matter how often you use your fan; it is still going to gather dust and all forms of debris. You do not want to be one of those people whose house is very clean, but there is something wrong with it.
When doing your thorough cleaning, set time aside to clean your fan. Depending on the area you live in, you may need to clean your wind machine fan more often. Clean it at least once a month.
Makes the Motor More Efficient
If you are looking to have your wind machine fan serve you for a long time, cleaning it would be the best option. Build-up prevents the motor from working well and may cause it to work twice as hard.
A motor that is working twice as hard as it will end up consuming a lot of energy. A lot of energy equals a high power bill.
Tips and Precautions When Cleaning Your Wind Machine Fan
An important part of cleaning your fan is the precautions to take when cleaning it. One mistake may end up costing you your whole machine or causing an accident. Some of the precautions to take include:
- Free up adequate space on your workbench. If you do not have a workbench, you can opt to work in the garage or outdoors.
- Ensure you turn off the fan before removing it from the power source. This is for all types of models and brands.
- If your fan should not be opened, do not attempt to open it.
- Do not try to open the motor of the fan; leave it as it is. Once you vacuum all the dust away, leave it at that.
- In the course of cleaning, avoid touching the motor unnecessarily. You may end up getting water in it and spoiling it.
- If you do not know the correct way to get your wind machine fan open, leave it to a professional to do it.
Conclusion
Cleaning your wind machine fan boosts not only the overall cleanliness of your home but also reduces the chances of allergens around your home. Depending on how long you have been using it, choose the appropriate method that works for you.